How to Upload Article on Website ?
In today’s digital world, publishing content online is one of the most powerful ways to share knowledge, grow an audience, or promote a business. Whether you’re a blogger, business owner, content marketer, or freelance writer, knowing how to upload article on website is essential. This article will walk you through the entire process in a clear and easy-to-follow manner. Whether you’re working with WordPress, Blogger, Wix, or a custom HTML website, this guide has you covered.
Why Uploading Articles Online is Important
Before diving into the technical steps, it’s worth understanding why uploading articles to your website is a valuable skill:
-
Builds authority: High-quality articles establish you as a thought leader in your niche.
-
Boosts SEO: Regular content helps search engines index your site and improve rankings.
-
Increases engagement: Useful content keeps users on your site longer and encourages interaction.
-
Generates leads: Articles can guide readers through your sales funnel.
Now that you know the benefits, let’s explore the process step-by-step.
Read More : uploadarticle. com hot
Step 1: Prepare Your Article
Before you upload anything, ensure your content is ready for the web. Here’s what you should do:
1.1 Write the Article
Use tools like Google Docs, Microsoft Word, or any writing software you’re comfortable with. Follow these writing best practices:
-
Keep paragraphs short and readable.
-
Use subheadings for structure.
-
Include bullet points or numbered lists where necessary.
-
Make sure the tone matches your audience.
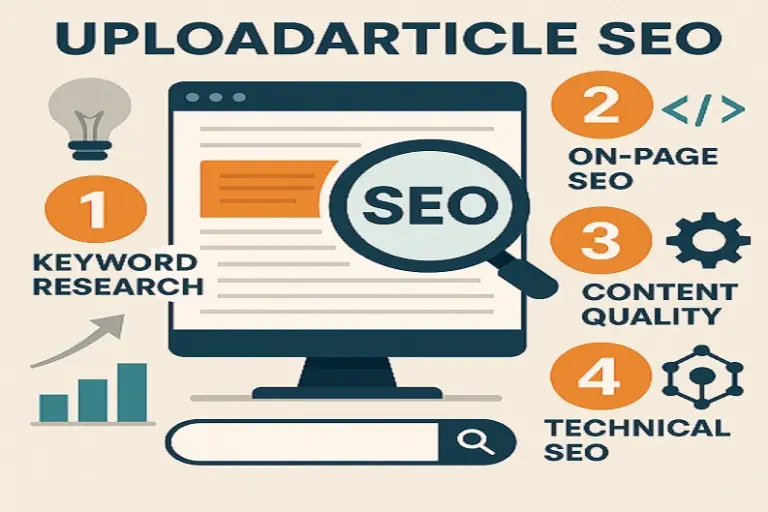
1.2 Optimize for SEO
Search engine optimization is crucial. Here are a few quick tips:
-
Use your focus keyword (“how to upload article on website”) naturally 7–10 times throughout the content.
-
Include LSI (Latent Semantic Indexing) keywords like: website content upload, publishing blog posts, add article to website, uploading blog content.
-
Add a compelling title and meta description.
-
Use internal and external links where appropriate.
1.3 Format Your Content
Your article should be web-ready:
-
Headings: Use H1 for the main title, H2 for main sections, and H3 for sub-sections.
-
Images: Use royalty-free images, compress them, and add alt text.
-
File Format: Keep the document in a plain text or HTML format if needed.
Step 2: Choose the Right Platform
The way you upload an article will depend on the platform your website is built on. Let’s break it down by popular content management systems (CMS):
WordPress
WordPress powers over 40% of websites, and it’s beginner-friendly.
Steps:
-
Log in to your WordPress dashboard.
-
Navigate to Posts > Add New.
-
Paste or write your content directly into the WordPress editor.
-
Use the formatting tools to style text, add headings, and insert images.
-
Set a featured image.
-
Choose or create a category and add relevant tags.
-
Click Publish when you’re ready to go live.
Tip: You can also schedule posts or save them as drafts.
Blogger
If you’re using Google’s Blogger:
Steps:
-
Go to www.blogger.com and log in.
-
Choose your blog from the dashboard.
-
Click on New Post.
-
Enter the title and content.
-
Format using the toolbar (headings, links, images, etc.).
-
Use the Labels section for categories.
-
Click Publish to upload.
Wix
Wix is another popular website builder with a drag-and-drop interface.
Steps:
-
Go to your Wix dashboard.
-
Click Blog > Create a Post.
-
Add your title and body content.
-
Insert images and videos using the toolbar.
-
Add SEO settings, tags, and a cover image.
-
Click Publish or Schedule.
HTML/Custom Website
For a site not using CMS:
Steps:
-
Open your article in an HTML editor like VS Code or Notepad++.
-
Format your article using HTML tags:
-
Save the file as
.html. -
Use an FTP client (like FileZilla) to upload the file to your server.
-
Place it in the appropriate folder (usually
/public_htmlor/www). -
Visit yourdomain.com/article-name.html to confirm it’s live.
Tip: Always test the webpage on different devices and browsers.
Read More : uploadarticle. com
Step 3: Check Formatting and Layout
After uploading your article, always preview the page to check for:
-
Broken links
-
Formatting issues
-
Responsive layout on mobile
-
Image loading problems
Make necessary changes and republish if needed.
Step 4: Promote Your Article
Just uploading your article isn’t enough. Promote it through the right channels:
-
Share on social media (Facebook, Twitter, LinkedIn).
-
Send it out via email newsletters.
-
Submit to article directories or forums.
-
Use tools like Buffer or Hootsuite for scheduling posts.
This helps drive traffic and improves visibility.
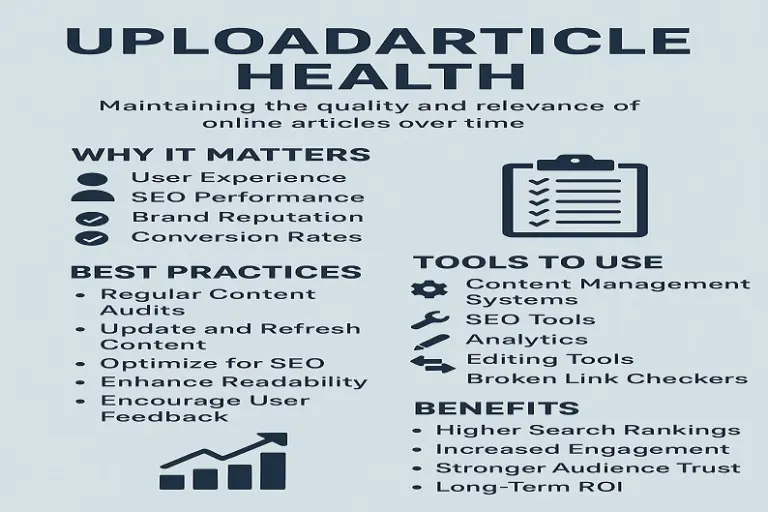
Step 5: Update and Maintain Your Articles
Your work doesn’t stop after publishing. Regularly revisit your articles to:
-
Fix outdated information.
-
Update stats or sources.
-
Add internal links to newer articles.
-
Refresh the content to improve rankings.
This improves user experience and keeps your content relevant.
Common Mistakes to Avoid
-
Not proofreading: Typos and grammar errors reduce credibility.
-
Ignoring mobile responsiveness: Over half of users browse on phones.
-
Skipping meta tags: This hurts SEO and click-through rates.
-
Overusing keywords: Avoid keyword stuffing. It looks spammy.
-
Poor image optimization: Large images slow down your site.
Tools That Can Help
Here are a few helpful tools when learning how to upload article on website:
-
Grammarly – for grammar checking.
-
Yoast SEO (WordPress plugin) – for on-page SEO.
-
TinyPNG – to compress images.
-
Canva – to design article banners.
-
Google Search Console – to monitor article performance.
-
Ubersuggest or Ahrefs – to find keywords and optimize your content.
Final Thoughts
Knowing how to upload article on website is a valuable skill that empowers you to share your message with the world. Whether you’re blogging for passion, business, or community building, following these steps ensures your content is not only live but also effective, SEO-friendly, and professionally presented.
Once you master the basics, you can explore more advanced features like content scheduling, RSS feeds, or integrating with newsletters.
Start uploading today and grow your digital footprint, one article at a time!
Read More : uploadarticle.com
Frequently Asked Questions (FAQs)
1. Do I need coding skills to upload articles to a website?
Not at all. Most modern website platforms like WordPress, Wix, and Blogger are user-friendly and require no coding. For custom-built sites, some basic HTML knowledge can help, but isn’t always necessary if you work with a developer.
2. What’s the best format for uploading an article?
The best format is plain text for direct copy-paste or HTML for custom websites. On CMS platforms, you can write or paste directly into the visual editor. Ensure your formatting is clean and consistent.
3. How often should I upload articles to my website?
Consistency is key. Whether it’s once a week, bi-weekly, or monthly, keep a regular schedule. This helps with SEO, builds audience trust, and establishes your content authority over time.